

By
Tima Fofana
on
January 12, 2023
With the e-learning market expected to be worth $325 billion by 2025, it should come as no surprise that selling online courses is becoming one of the most popular ways of earning a passive income.
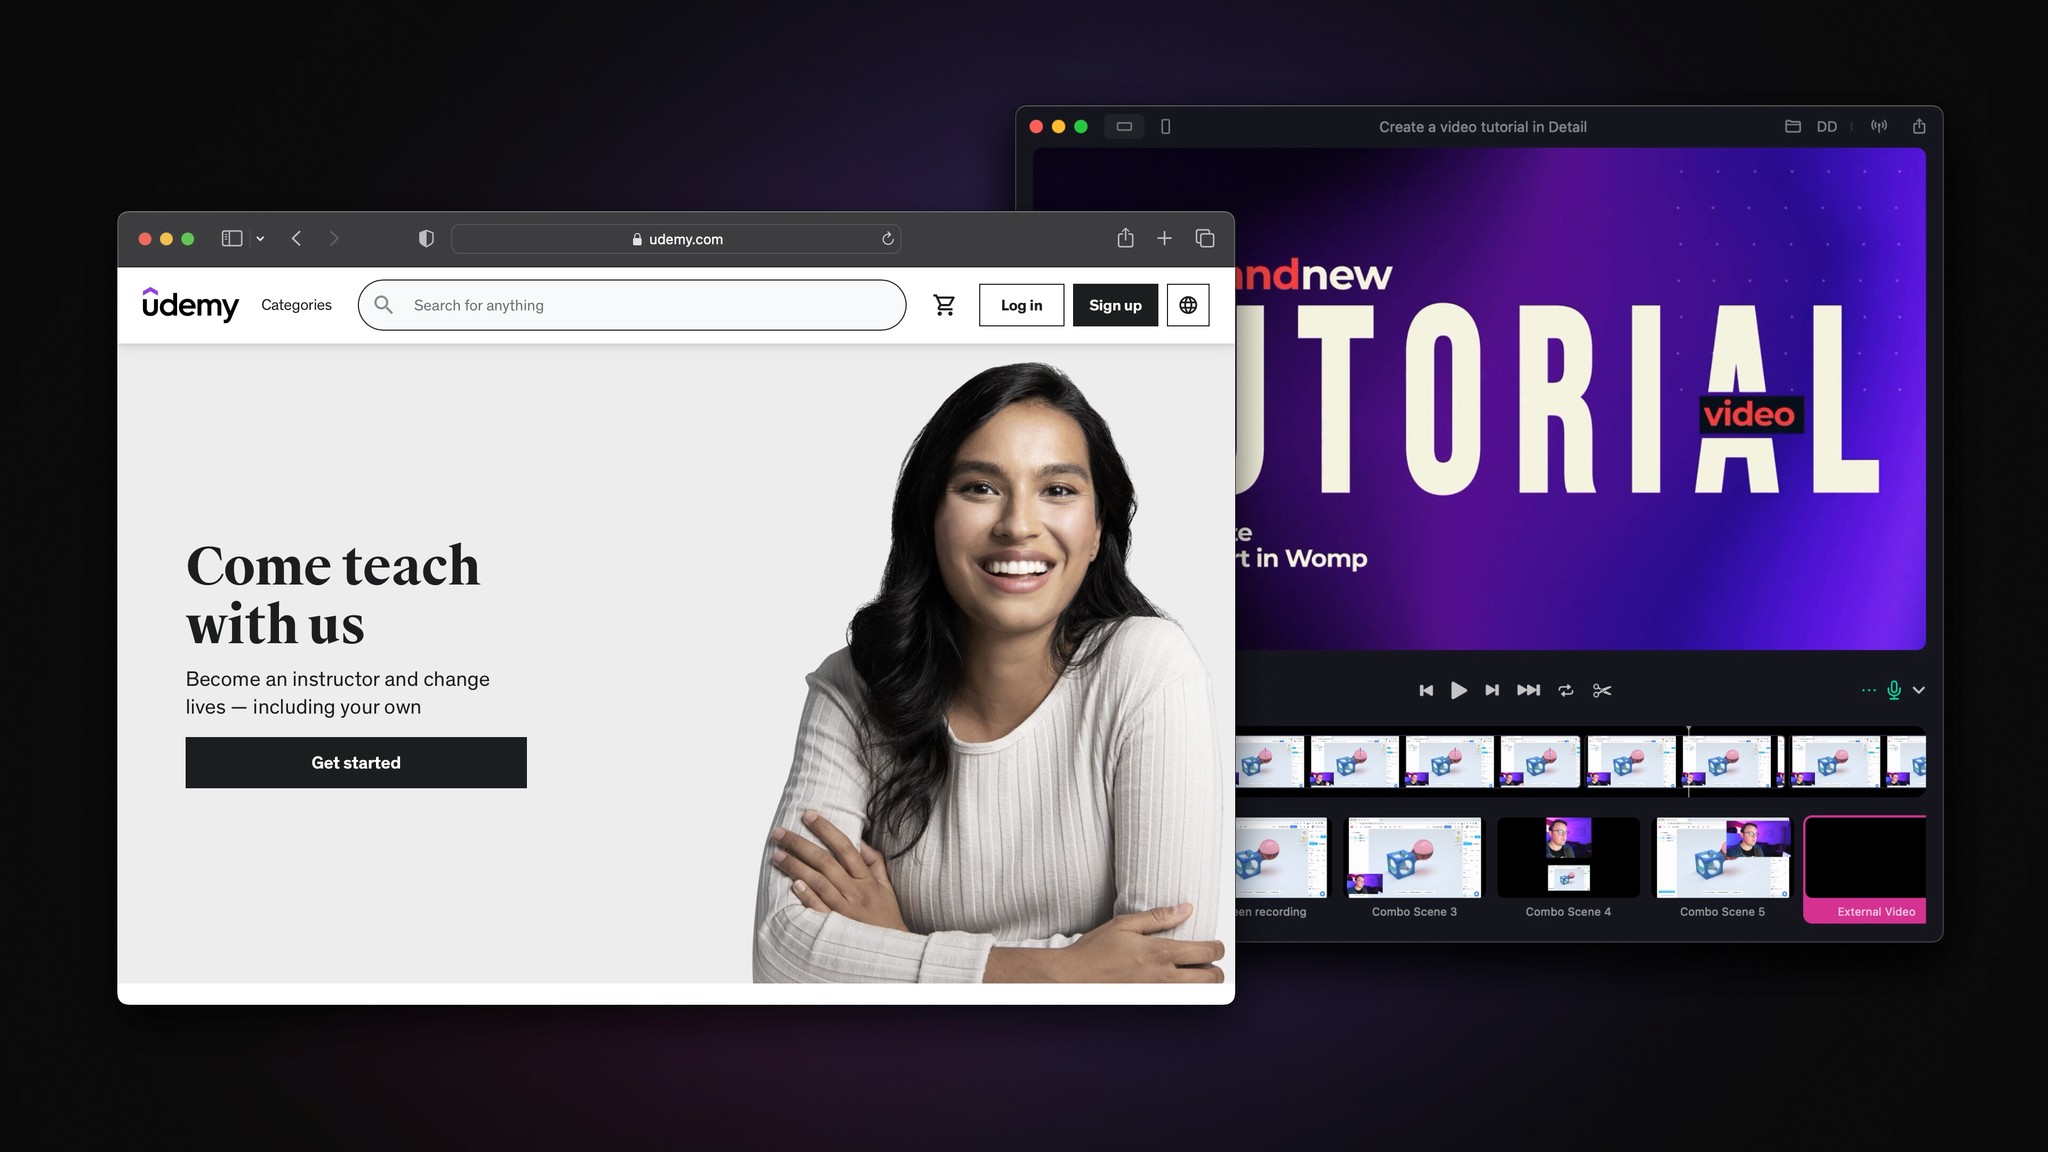
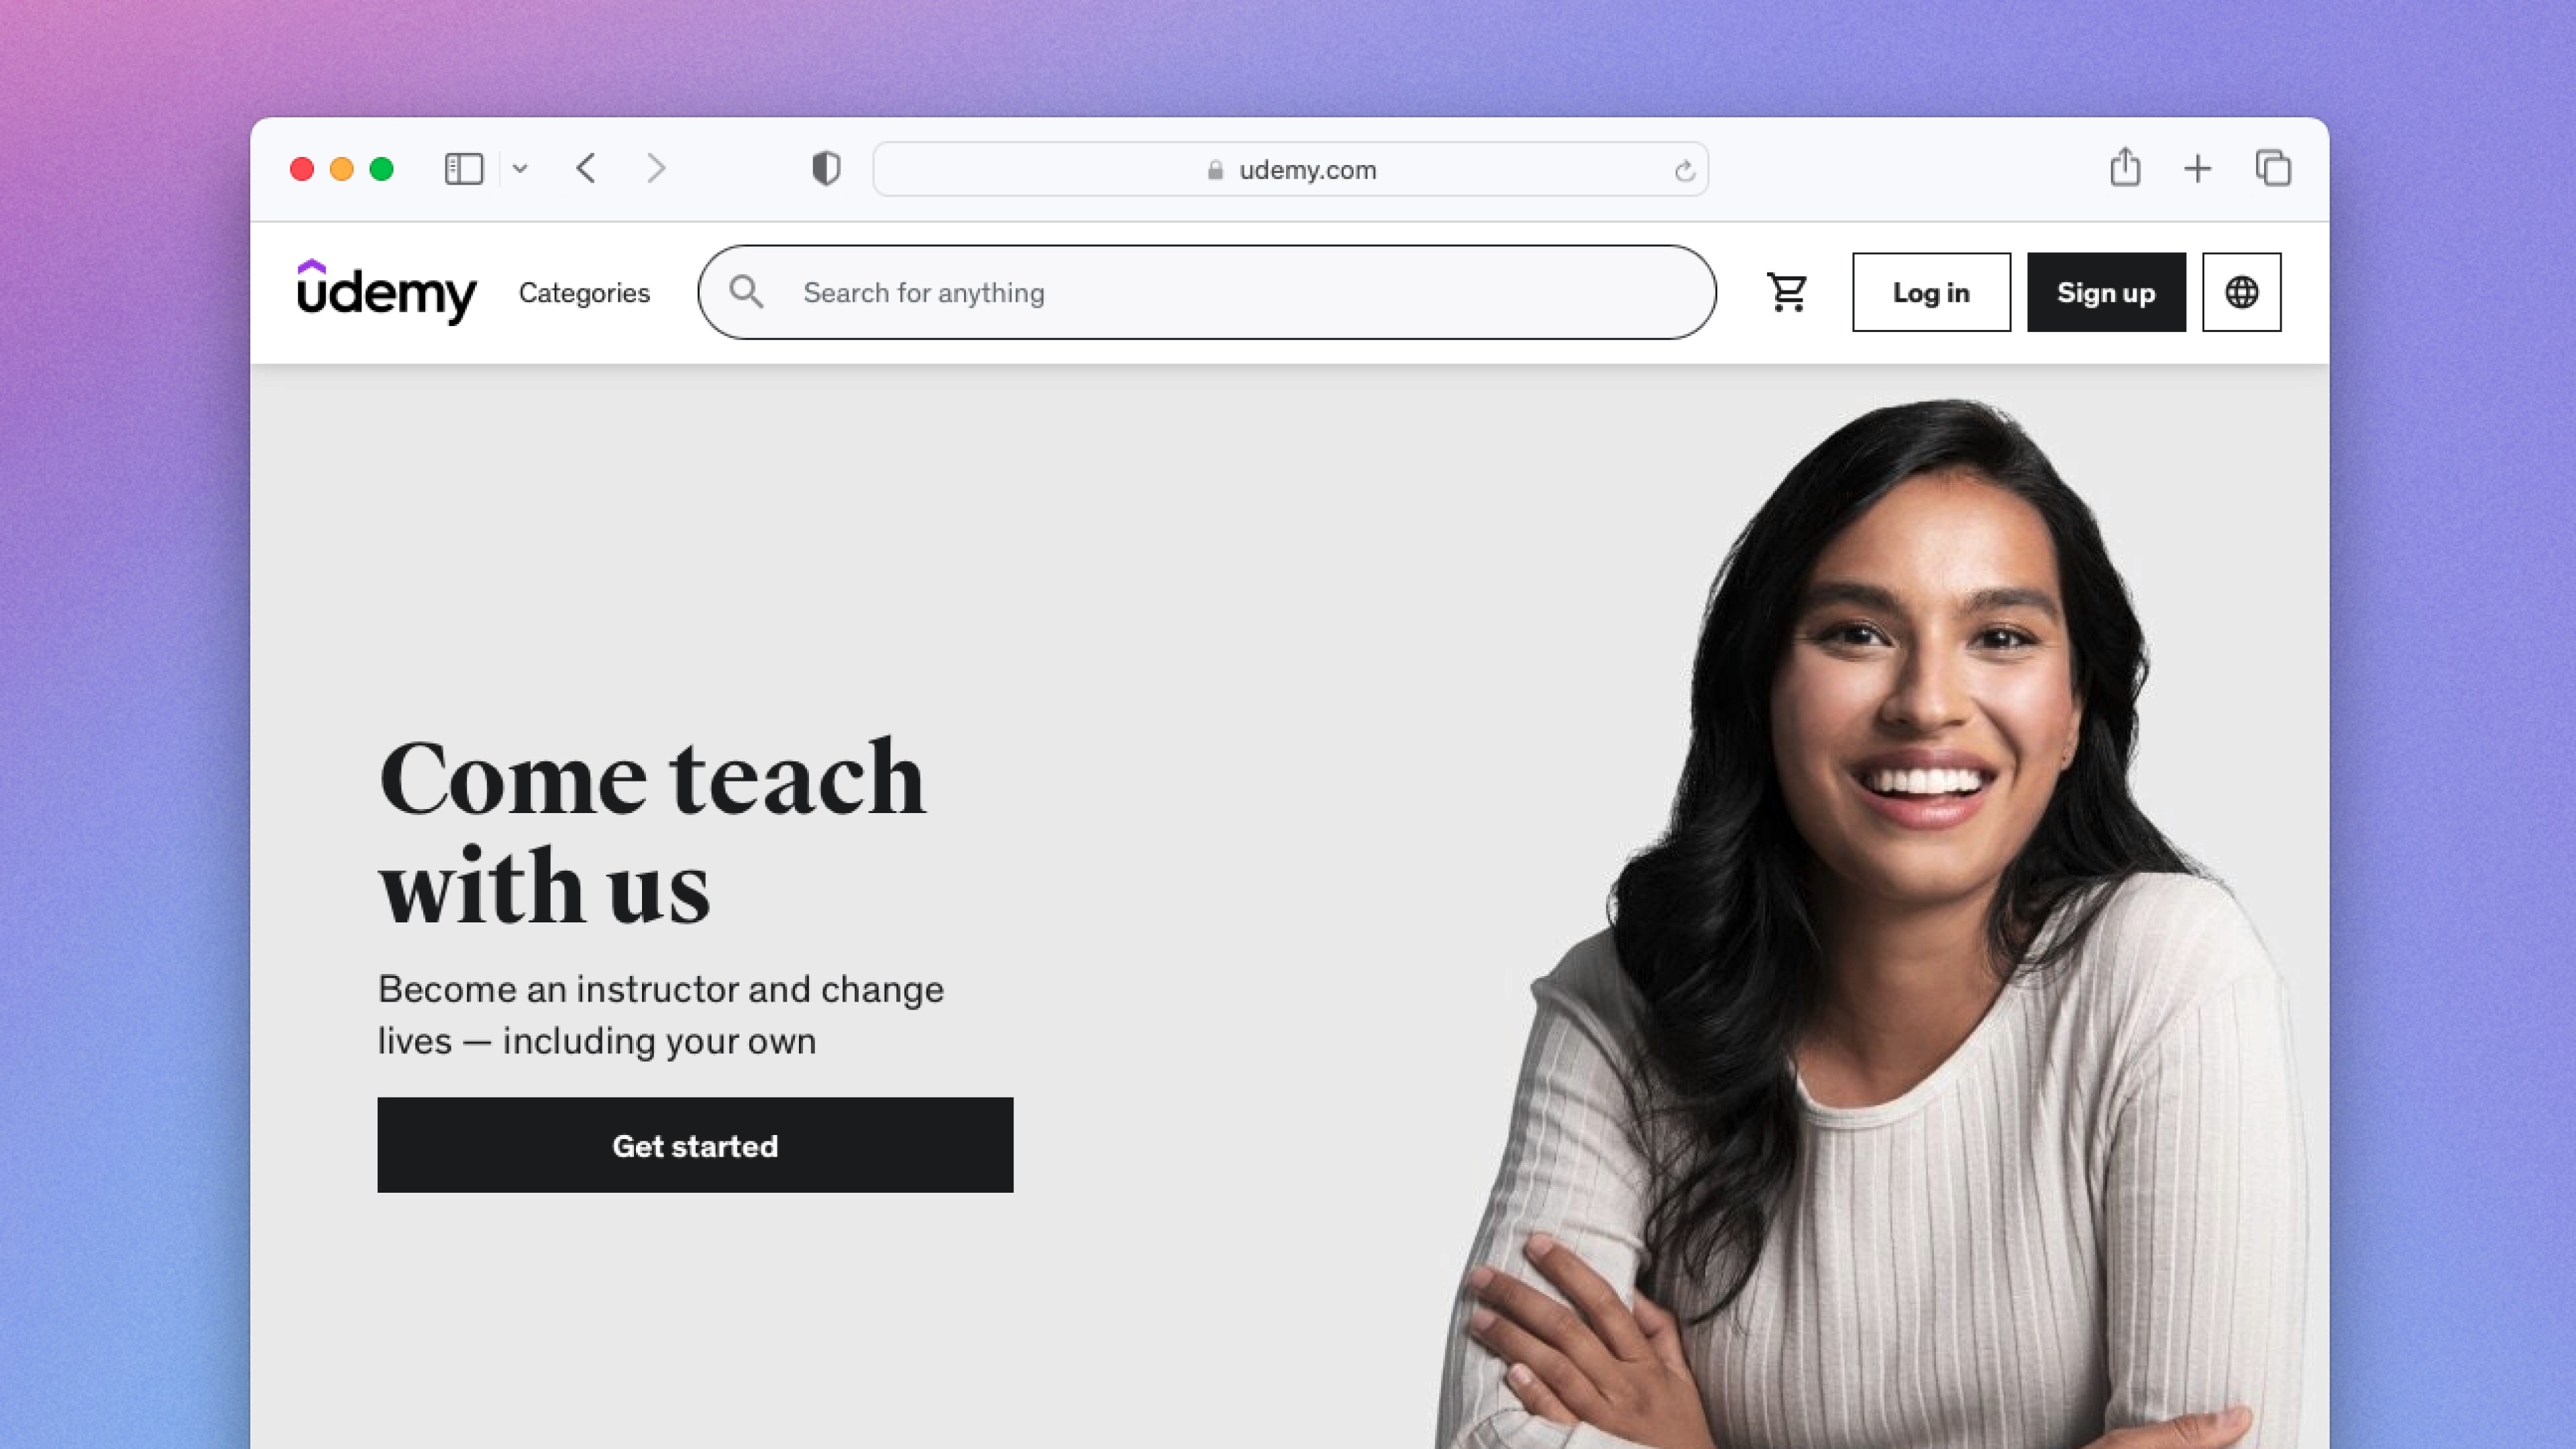
There are multiple platforms for online course creators to share their knowledge, and one of the most popular is Udemy. Zapier named it the best online course marketplace for launching your first course last year and it has grown to over 40 million learners since it was founded in 2010. Keep reading to check out our five-step guide to creating a course on Udemy.

Pick your course topic
This one might seem obvious but it might require more consideration, research, and planning than you think. Start by picking a topic you’re already passionate about. Identify where your knowledge is by writing down bullet points and mapping out what you know about the topic.
Next, you’ll need to establish who your audience is. Who is your course for and is there a demand for it? Then, make sure you check if there are already courses on Udemy covering your chosen topic. If there is, what could make your course different? What makes you stand out?
Note: unless you’re offering a free course, you’ll need to submit an application to become a Premium instructor. Once that has been approved, you’ll be able to set the price for your course and more.
Create learning outcomes
Once you’ve figured out who your audience is, it’s time to determine what they will learn from the course. What knowledge, skills, and attitudes will students have after taking your course? The answer to that will be the foundation of your course learning outcomes. Check out 5 steps to writing clear and measurable learning objectives to learn more.
Structure modules
This is where you outline your course to ensure that your content delivers on the learning outcomes for your students. Figure out what modules, quizzes, exercises, and additional resources to include. Think of ways your students can apply their learning and assess their comprehension throughout the course.
This is also a good moment to figure out how you’ll actually structure the information and the course content itself. This structure is a great foundation for planning and recording the videos that will make up your course.
Capture & edit with Detail Studio
If you haven’t already, make sure you download Detail Studio.
Setting up
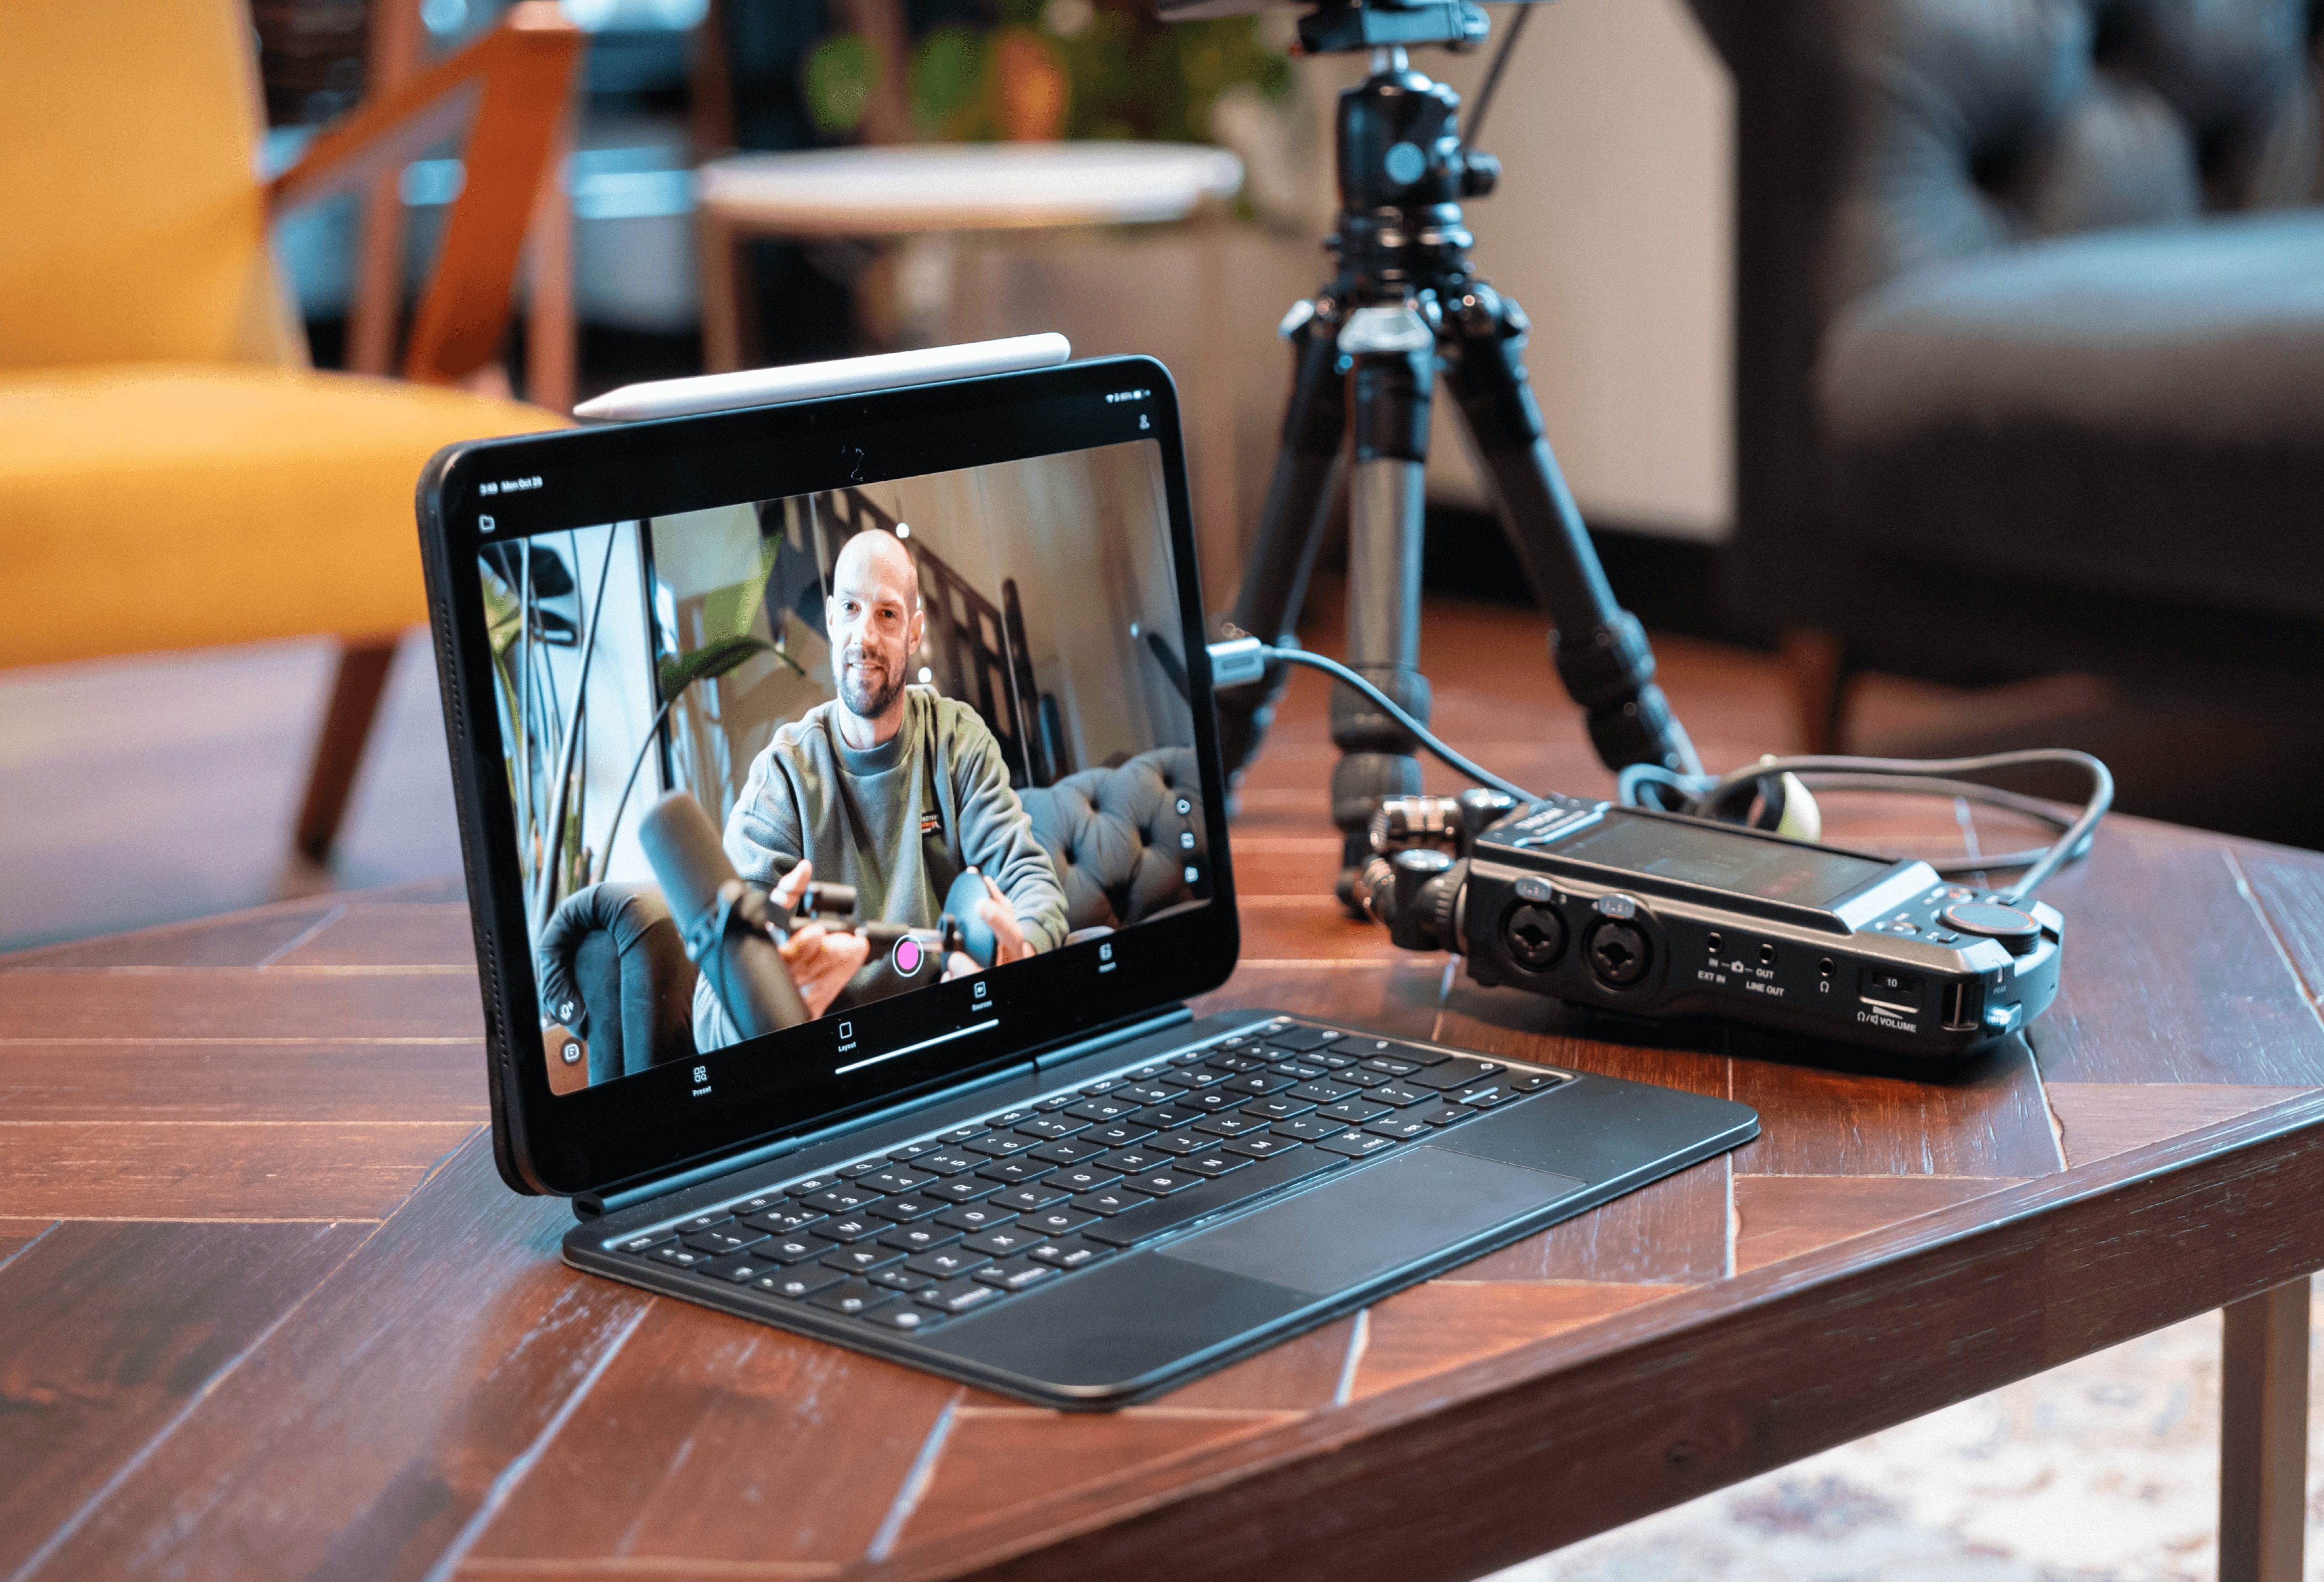
First you need to set up your camera and a screen share in Detail Studio. You can use any camera with Detail Studio but if you’re just getting started we recommend using your iPhone. Check out this video to learn how to connect other cameras via USB-C and HDMI capture card.
Next you need to create a combo scene. Combo Scenes are combinations of two or more of your other scenes that you can put together to create really dynamic and engaging content.
If you’re creating a course around software, you’ll probably want to use a picture in picture layout with your screen nice and big and your camera in the corner.
If you’re teaching something like yoga or fitness, you’ll probably want to connect another camera and use a split screen combo scene.
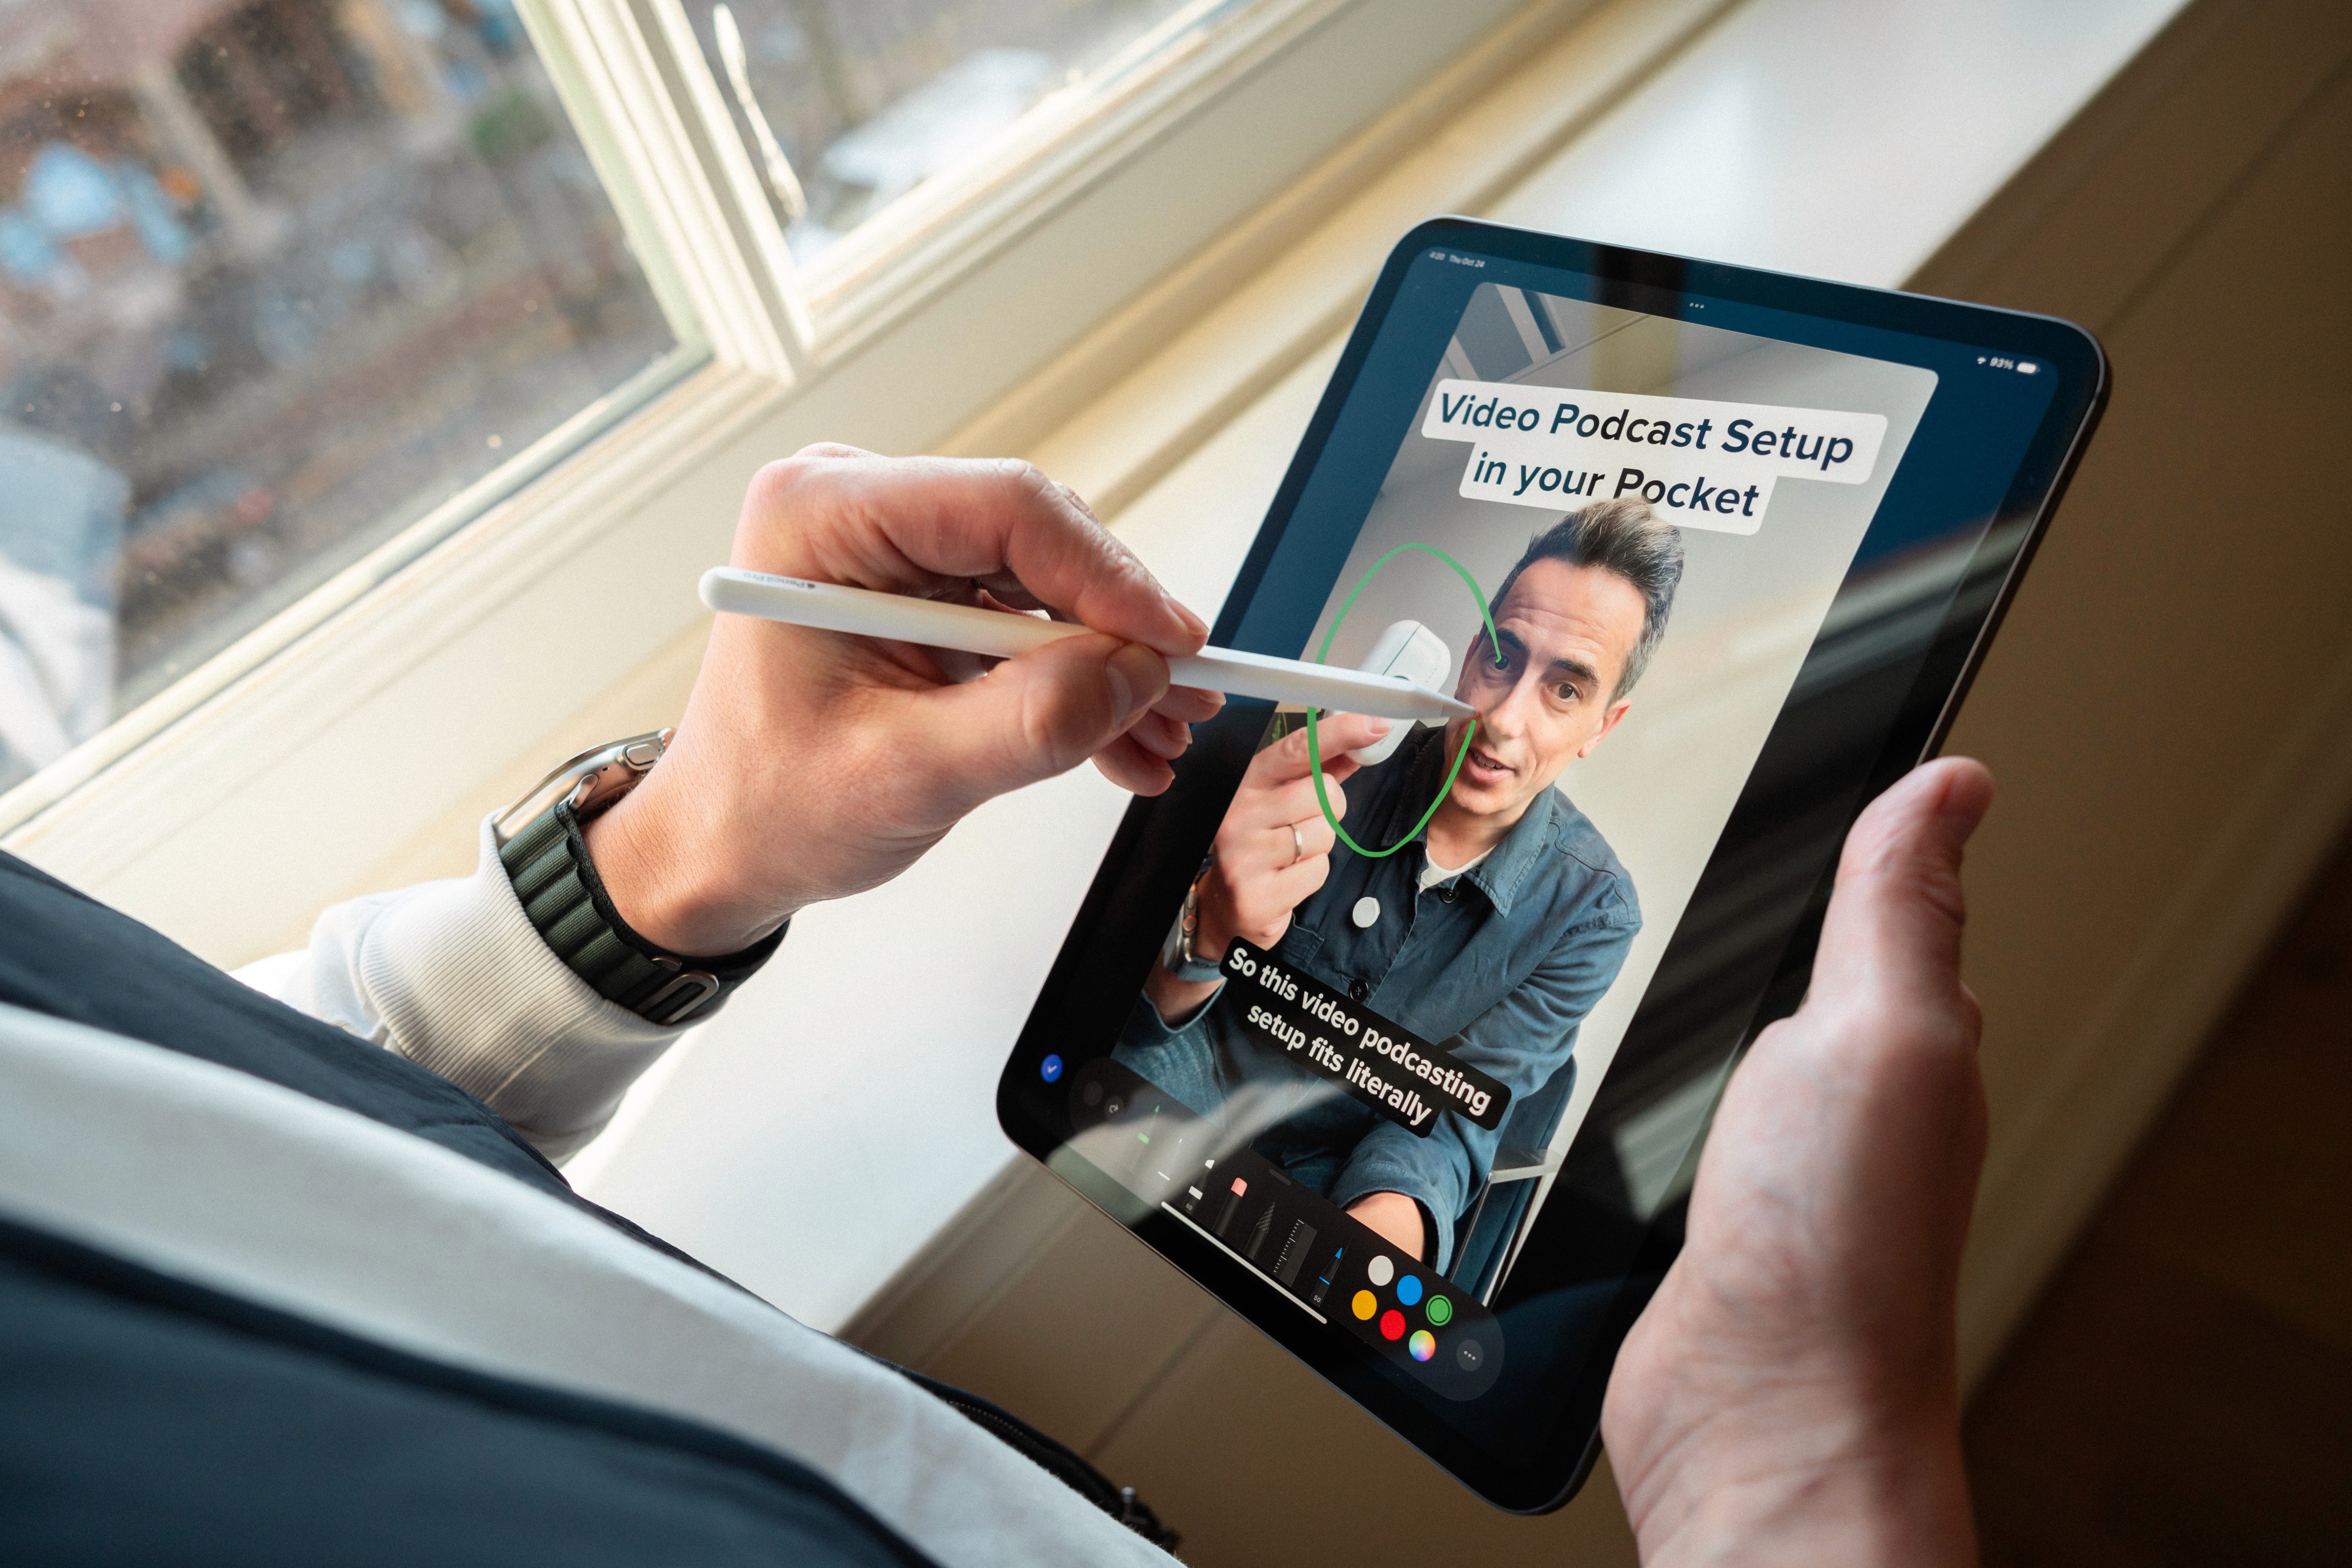
Time for some Detail magic. Maybe you want to record social media content to promote your course as you go. You can just create another combo scene, and this time choose a vertical, split-screen format. You can record multiple cameras and screens in 9:16, ready to share on TikTok, Youtube Shorts or Instagram Reels.
Finally, make sure you select your audio source! If you don’t own an external microphone you can get good quality audio using wireless earphones like Apple Airpods or you can pick up a relatively cheap USB mic like the Rode NT-USB Mini.
Once you have everything set up, just hit record and share your knowledge.
Playback and editing
Detail captures your cameras and screens separately, along with your combo scenes which makes it easy to fix any errors, switch up your final video, or just export individual recordings when you’re done. All your clips will appear in your timeline once you’re finished recording.
Editing in Detail Studio is super simple. You can split clips (using the "X" key on your keyboard or right-clicking and selecting "Split Clip"), reorder your clips or delete anything you don’t want.
If you’ve got branded titles for your course, you import those into Detail Studio — just click "Timeline > Import Video…" and select the video you want to add.
Export your full video by clicking the export button at the top right of the Detail window. Now you’re ready to upload your video to Udemy!
For a more detailed guide on recording editing a tutorial in Detail, check out this blog post.
Launch on Udemy
Before launching your course, you’ll need to write the information for your course landing page. Check Udemy’s best practices on what to include. Once you’ve added everything on the list you should be good to launch!
It’s time to turn your passion into your profession
Udemy offers loads of support for creating and promoting a course through their Teaching Center, affiliate marketing programs and more.
If you’ve already created tutorial videos, you can use Detail Studio to make eye-catching social content. Check out this guide on how to get AI-generated highlights for social media promo with just one click. Download Detail Studio to start shooting your course videos today!
With the e-learning market expected to be worth $325 billion by 2025, it should come as no surprise that selling online courses is becoming one of the most popular ways of earning a passive income.
There are multiple platforms for online course creators to share their knowledge, and one of the most popular is Udemy. Zapier named it the best online course marketplace for launching your first course last year and it has grown to over 40 million learners since it was founded in 2010. Keep reading to check out our five-step guide to creating a course on Udemy.

Pick your course topic
This one might seem obvious but it might require more consideration, research, and planning than you think. Start by picking a topic you’re already passionate about. Identify where your knowledge is by writing down bullet points and mapping out what you know about the topic.
Next, you’ll need to establish who your audience is. Who is your course for and is there a demand for it? Then, make sure you check if there are already courses on Udemy covering your chosen topic. If there is, what could make your course different? What makes you stand out?
Note: unless you’re offering a free course, you’ll need to submit an application to become a Premium instructor. Once that has been approved, you’ll be able to set the price for your course and more.
Create learning outcomes
Once you’ve figured out who your audience is, it’s time to determine what they will learn from the course. What knowledge, skills, and attitudes will students have after taking your course? The answer to that will be the foundation of your course learning outcomes. Check out 5 steps to writing clear and measurable learning objectives to learn more.
Structure modules
This is where you outline your course to ensure that your content delivers on the learning outcomes for your students. Figure out what modules, quizzes, exercises, and additional resources to include. Think of ways your students can apply their learning and assess their comprehension throughout the course.
This is also a good moment to figure out how you’ll actually structure the information and the course content itself. This structure is a great foundation for planning and recording the videos that will make up your course.
Capture & edit with Detail Studio
If you haven’t already, make sure you download Detail Studio.
Setting up
First you need to set up your camera and a screen share in Detail Studio. You can use any camera with Detail Studio but if you’re just getting started we recommend using your iPhone. Check out this video to learn how to connect other cameras via USB-C and HDMI capture card.
Next you need to create a combo scene. Combo Scenes are combinations of two or more of your other scenes that you can put together to create really dynamic and engaging content.
If you’re creating a course around software, you’ll probably want to use a picture in picture layout with your screen nice and big and your camera in the corner.
If you’re teaching something like yoga or fitness, you’ll probably want to connect another camera and use a split screen combo scene.
Time for some Detail magic. Maybe you want to record social media content to promote your course as you go. You can just create another combo scene, and this time choose a vertical, split-screen format. You can record multiple cameras and screens in 9:16, ready to share on TikTok, Youtube Shorts or Instagram Reels.
Finally, make sure you select your audio source! If you don’t own an external microphone you can get good quality audio using wireless earphones like Apple Airpods or you can pick up a relatively cheap USB mic like the Rode NT-USB Mini.
Once you have everything set up, just hit record and share your knowledge.
Playback and editing
Detail captures your cameras and screens separately, along with your combo scenes which makes it easy to fix any errors, switch up your final video, or just export individual recordings when you’re done. All your clips will appear in your timeline once you’re finished recording.
Editing in Detail Studio is super simple. You can split clips (using the "X" key on your keyboard or right-clicking and selecting "Split Clip"), reorder your clips or delete anything you don’t want.
If you’ve got branded titles for your course, you import those into Detail Studio — just click "Timeline > Import Video…" and select the video you want to add.
Export your full video by clicking the export button at the top right of the Detail window. Now you’re ready to upload your video to Udemy!
For a more detailed guide on recording editing a tutorial in Detail, check out this blog post.
Launch on Udemy
Before launching your course, you’ll need to write the information for your course landing page. Check Udemy’s best practices on what to include. Once you’ve added everything on the list you should be good to launch!
It’s time to turn your passion into your profession
Udemy offers loads of support for creating and promoting a course through their Teaching Center, affiliate marketing programs and more.
If you’ve already created tutorial videos, you can use Detail Studio to make eye-catching social content. Check out this guide on how to get AI-generated highlights for social media promo with just one click. Download Detail Studio to start shooting your course videos today!
Get started with a free Scene Pack


Tips & Tricks
Tips & Tricks
How to Extract Audio from Any Video on Your iPhone
How to Extract Audio from Any Video on Your iPhone
How to Extract Audio from Any Video on Your iPhone


Tips & Tricks
Tips & Tricks
Record Two Angles for Video Podcasts with One iPhone
Record Two Angles for Video Podcasts with One iPhone
Record Two Angles for Video Podcasts with One iPhone


Tips & Tricks
Tips & Tricks
Draw on Videos on iPhone or iPad
Draw on Videos on iPhone or iPad
Draw on Videos on iPhone or iPad


Tips & Tricks
Tips & Tricks
Use Your iPhone's Rear Camera and See Yourself on iPad
Use Your iPhone's Rear Camera and See Yourself on iPad
Use Your iPhone's Rear Camera and See Yourself on iPad
Sign up for news and resources
Unsubscribe at any time.
Support
© 2025 Detail Technologies B.V. All rights reserved
Sign up for news and resources
Unsubscribe at any time.
Support
© 2025 Detail Technologies B.V. All rights reserved
Sign up for news and resources
Unsubscribe at any time.
Support
© 2025 Detail Technologies B.V. All rights reserved
